
Communicating ideas can be difficult, even at a time when technological advancements are growing at an unprecedented rate. There are tools and programs designed to bridge the gaps in communication, and one of the most effective methods to clearly convey your thoughts to your audience is through screenshots. While the premise may be simple, it’s powerful enough to allow others to get a better understanding of what you’re trying to say.
To get screenshots, you need to have a snipping tool. Many of today’s snipping tools do more than just capture an image. They also let you annotate, edit, enhance, and share your output. Let’s take a look at the many benefits of a snipping tool and how it can make your life easier.
Benefits of Using a Snipping Tool
Whether you’re using the best snipping tool for Mac or the best snipping tool for Windows, it’s undeniable that the snipping tool is a nifty feature that makes your life easier. Here are some of its benefits:
Facilitates communication
It can be difficult to communicate your concerns, especially if you can’t see each other’s screens. The snipping tool makes communicating with your peers easier. If you come across an error or have something you want to show to your colleagues, then you can take a screenshot of it and send it to your teammates.
Enhances images
Another benefit of the snipping tool is it lets you annotate your images or change the size or quality of your images. Whether you’re using the Windows snipping tool or the snipping tool for Mac, you can add notes, arrows, and lines to your screenshot to help you communicate with your team better. Moreover, you can edit your images according to your liking. With snipping tools, you’re free to resize, crop, rotate, sharpen, and brighten your image, among other enhancements.
Records video clips
You can use a number of third-party snipping tools to record video clips. These tools vary in functionality. Some let you record from your screen, while others let you record from your webcam. Other feature-rich snipping tools also allow audio recording, as well as screen recording on your mobile device.
Lets you create GIFs
GIFs are popular and ubiquitous. You can find them in blogs or articles and as memes. With the right snipping tool, you can create GIFs that can convey a set of instructions clearly or add an element of fun to your presentations.
Creates more engaging presentations
Adding screenshots to your presentations can help you get your point across better, given that your audience will actually see what it is you’re referring to.
What to Look for in a Snipping Tool
Finding the best snipping tool can be especially difficult with the sheer number of options available. To help you find the best one for your needs, we’ve rounded up some factors that are worth considering when choosing a snipping tool.
When looking for the best snipping tool, check if it has the following:
- Capability to capture different image types and sizes
- Features that let you make even the most basic image editing or enhancement tasks
- Ease of use or a user-friendly, intuitive interface
Windows Snipping Tool
The Windows OS comes with its own built-in snipping tool that you can use to take screenshots and more. With the Windows snipping tool, you can add or edit notes to your screenshot, use different snip modes, and even use Paint 3D to resize, rotate, and further enhance your snip.
Aside from Paint 3D, you can use the best free image resizer app to edit your snips. If you’re not yet familiar with how to take a screenshot on Windows, then we’ve got you covered with our guide. If you want to take it up a notch and find out the best screen recording software, then we’ve created a separate guide for you.
Snip Types
You can find the following snip types on the Windows snipping tool:
Free-form snip – This lets you draw a free-form shape around an object of your choosing.
Rectangular snip – With the rectangular snip, you can drag the cursor around a particular object, so you can form a rectangular frame.
Window snip – The window snip lets you choose a particular window that you want to capture.
Full-screen snip – A full-screen snip enables you to capture the whole screen.
Each snip that’s captured is automatically copied to your Windows snipping tool, allow you to make changes, save, and share your snips later on.
Accessing the Windows Snipping Tool
There are different ways to access the Windows snipping tool, depending on the Windows OS version that you have:
Windows 10:
Click the Start button on the taskbar, and type snipping tool in the search box. Select the Snipping Tool from the results.
When it comes to the snipping tool, Windows 10 has a one-up over previous versions. It has the Snip & Sketch app, which is a more advanced version. It offers a larger variety of markup tools, as well as a ruler. Moreover, you can easily access the app without having to go through the search bar. By pressing the Windows button + Shift + S keys at the same time, you can instantly launch the program.
Windows 8.1 or RT 8.1:
Go to the lower-right corner of your screen to access the search bar. From there, key in “snipping tool” and select the Snipping Tool from the results.
Windows 7:
Similar to how you open the Windows snipping tool on Windows 10, you also need to select the Start button on your Windows 7 device. Type snipping tool in the search box, and select the Snipping Tool from the results displayed.
Snipping Tool Keyboard Shortcuts
To optimize your use of the Windows snipping tool, here are some helpful snipping tool shortcut keys you can try:
Alt + M
This lets you select a snipping mode.
Shift + arrow keys
After pressing Alt + M, use this shortcut to move your cursor, so you can choose from different snip types.
Alt + N
Use the Alt + N shortcut to create a new snip while keeping the same mode you used for the last snip.
Alt + D
This shortcut lets you delay snip capture anywhere from 1 to 5 seconds.
Ctrl + C
Use the classic Ctrl + C combination to copy your snip to your clipboard.
Ctrl + S
This shortcut allows you to save your snip.
Mac Snipping Tool
Mac devices also come with their own snipping tool. This snipping tool for Mac is versatile, letting you take screenshots and more. To help you brush up on how to take a screenshot on a Mac, we’ve created a separate guide for you.
Formerly known as Grab, this built-in tool lets you capture the entire screen, capture a window, or take a screenshot of just a portion of your screen.
Using the snipping tool for Mac is as easy as pressing and holding several keys at the same time.
To take a screenshot
To take a screenshot on a Mac device, press and hold the following keys simultaneously: Shift, Command, and 3. Once a thumbnail appears on your screen, you can click it to start editing your screenshot.
To capture a portion of the screen
If you only want to capture a small portion of the screen, you can do so by pressing and holding the following keys at the same time: Shift, Command, and 4.
Once a crosshair icon appears, use this to select the area you want to capture by dragging it to the said area. If you want to move your selection, then press and hold the Space bar while dragging the area. If you want to cancel the process, simply press the Escape (ESC) key.
If you’re ready to take the screenshot, release your mouse or trackpad button. In the same vein as capturing a standard screenshot, wait for a thumbnail to appear on your screen to start editing your snip.
To capture a window
Capturing an entire window or menu on a macOS device is relatively easy. Once you’ve opened the window or menu that you want to capture, press and hold the following keys at the same time:
Shift + Command + 4 + Space bar
You’ll notice that the pointer icon will change to that of a camera icon. From there, click the window or menu you want to capture. If you want to cancel the entire process, simply press the Escape key.
Finding Your Screenshots
To find your screenshots, go to your Desktop, which also doubles as the default location for screenshots.
Depending on the macOS version that’s running, you have the option to set a timer and change the default save location. However, these features are currently only available to the macOS Mojave or later macOS versions.
Third-Party Snipping Tools
Sometimes even the built-in snipping tool for Mac and Windows just won’t cut it. We’ve sorted some of the best snipping tools for each OS, as well as tools that work for both operating systems. We’ve also included some of the best free snipping tool options on our list.
1. Snagit
Trusted by millions of users from some of the world’s largest brands, Snagit is an easy-to-use application. It has an all-in-one capture feature, which lets you capture various areas, such as your entire desktop, a region, a window, or a scrolling screen.

While it’s packed with features, one of its best elements is its Grab Text capability that lets you extract text from a screen capture or file, which you can then paste into your other documents. It also has several recording functions, which include screen recording, webcam and audio recording, and iOS screen recording. Snagit 2021 comes with a host of improved features, such as pre-made templates, enterprise sharing destinations, and the capacity to create GIFs.
✅ PROS:
- Simple interface
- Supports integrations
⛔️ CONS:
- Lacks a completely free version
2. Greenshot
Greenshot is a free portable screenshot software tool that’s available for both Windows and Mac. Its key features include quickly creating screenshots of a selected region, whether it’s a window, full screen, or a scrolling web page.

It’s also a configurable and open-source program, making it an ideal choice for software developers, project managers, and anyone who wants an easier way to create screenshots.
✅ PROS:
- Easy to understand
- Lets you obfuscate screenshots
⛔️ CONS:
- Updates are few and far between
3. LightShot
LightShot lets you take customizable screenshots in as fast as two button clicks. It’s an easy-to-use application that works for both Windows and macOS. What gives LightShot an edge is its similar image search capability that lets you find dozens of similar images.

It’s backed by powerful editors that you can access anytime. Aside from being available for Windows and macOS, this snipping tool can be used in web browsers, including Chrome, Firefox, Internet Explorer, and Opera.
✅ PROS:
- Simple and intuitive user interface
- Free
⛔️ CONS:
- Lacks capture modes
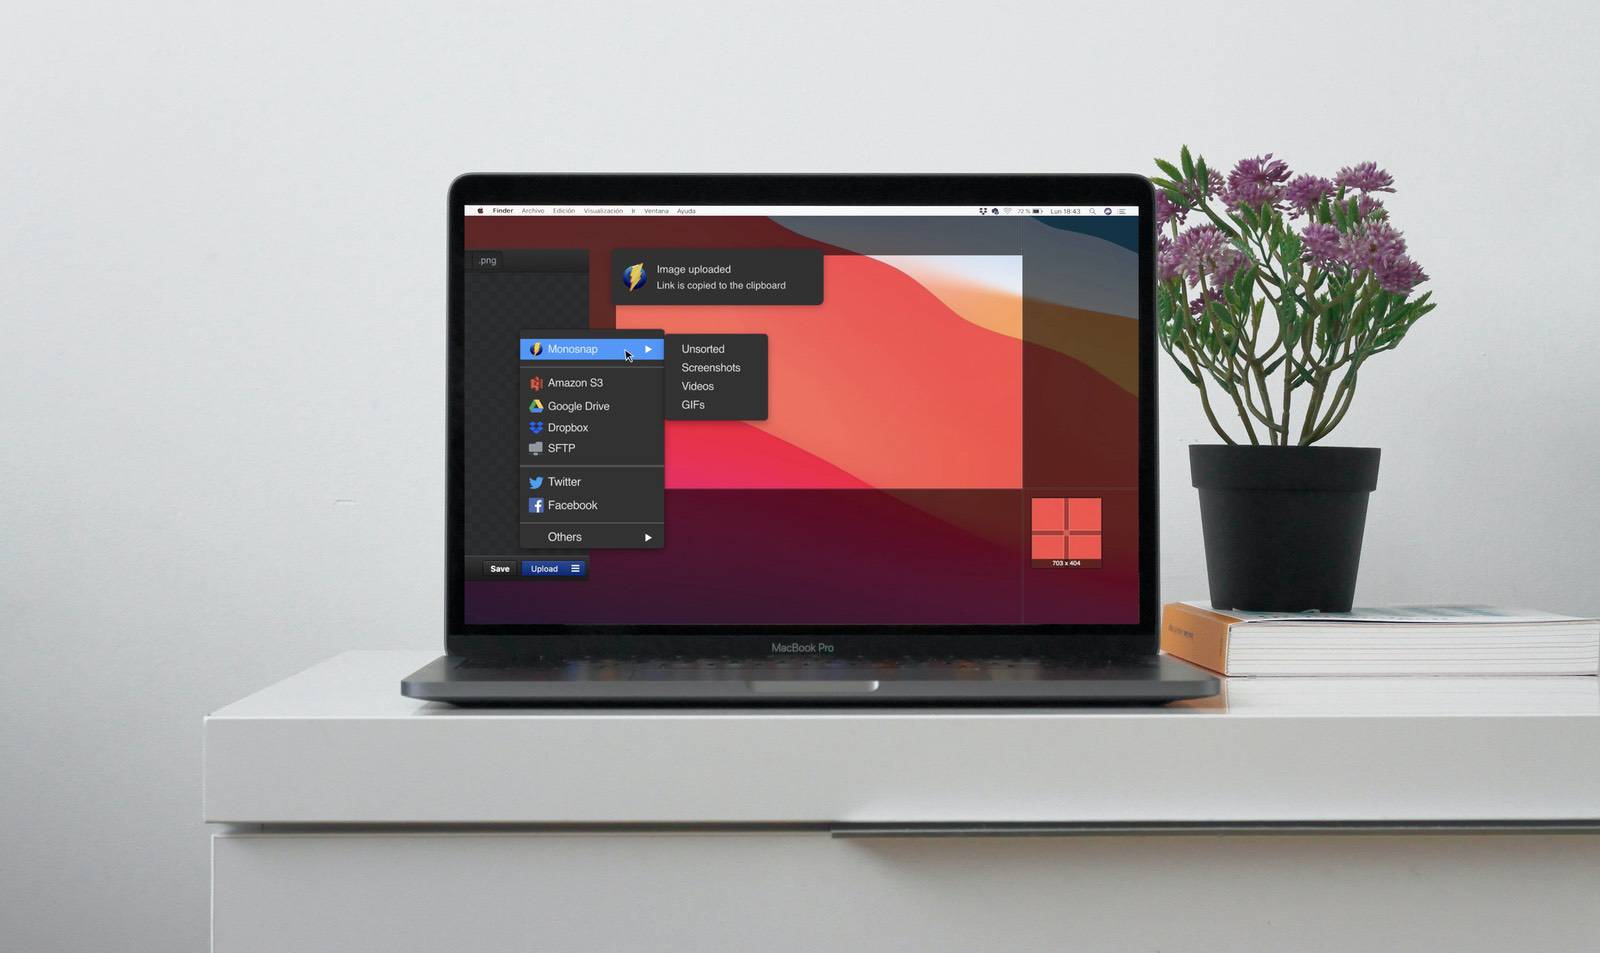
4. Monosnap
One of the more popular snipping tools, Monosnap already has over 1 million users worldwide. It’s a simple application that lets you capture screenshots and videos, edit and annotate your snips, and save them on the Monosnap cloud storage.

One of its best features is it allows integrations with programs or services that your team may already be using, such as Amazon S3, Zoom, YouTube, Google Drive, Dropbox, DigitalOcean Spaces, and more.
✅ PROS:
- Affordable pricing schemes
- Fast and unlimited monthly uploads for paid versions
⛔️ CONS:
- Free version is available for single users only
5. ShareX
If you want the best snipping tool, then ShareX is a strong contender. It’s a feature-rich free application that’s equipped with a number of productivity tools, destinations, upload methods, and region capture types, among others.

It also has a variety of capture methods, including active window, active monitor, custom region, and screen recording. Best of all, it offers a range of after-capture tasks that cover various needs, from showing you a quick task menu to recognizing text through optical character recognition (OCR).
ShareX is also packed with annotation features, including rectangle, cursor, outline, freehand, smart eraser, and blur.
✅ PROS:
- Open source
- Ad-free
⛔️ CONS:
- Complicated user interface
6. CloudApp
CloudApp is more than just a snipping tool. It’s an all-in-one solution that lets you capture images, screen record, and embed a variety of image and video types through your workflows. Each file that you create and save is stored securely in the cloud and is accessible through the native Mac and Windows apps.

CloudApp offers integrations with programs, such as Atlassian JIRA, Slack, and Trello, affording you and your team uncompromised collaborative performance and flexibility. Unlike conventional snipping tools, this program creates a customized and secure link for every snip you make.
✅ PROS:
- Password protection capability
- Free to download but has options for paid upgrades
⛔️ CONS:
- Limits captures to 50 for the free version
7. PicPick
This full-featured screen capture tool lets you capture images, edit or enhance them, and share your output across multiple platforms, including web, email, cloud services, and social media.

This program comes with:
- Various screen capture modes and scales
- Image editor
- Color picker
- Color palette
- Pixel ruler
- Magnifier
- Crosshair
- Protractor
- Whiteboard
✅ PROS:
- Feature-rich program
- Free for personal use
⛔️ CONS:
- If opting for the paid version, you can’t share one license between different users
8. Screenpresso
Screenpresso is an image and video screen capture tool that’s free to use and compatible with all Windows versions. It’s equipped with a built-in image editor and a document generator that lets you create PDF documents. Screenpresso also works well with Android devices via the Android center.

It’s a time-saving program that lets you drag and drop your snips to your emails, allowing you to create attachments in as fast as 1 second. You can also share your images and videos through the Screenpresso cloud even without registration.
✅ PROS:
- Screenshots include scrolling parts
- With MP4 option for lightweight files
- Has multilingual support
⛔️ CONS:
- Limited image editing capabilities
Final Thoughts
Whether you’re using a Windows or a Mac device, there’s no denying that a snipping tool is a must-have in your arsenal.
While you can opt for the built-in tools on your respective operating system, there are a number of other options on this list that go above and beyond what they can deliver. More than being just a snipping tool, the tools on our list allow you to become more creative and pave the way for clearer communications among teams.