How to Resize Your Images Without Losing Any Quality
Searching for how to resize your images without losing quality? Follow our step-by-step guide on how to do it at no time.
The two most common reasons that people need to resize images are to use on a website and for posting on social media. Keep reading to learn how to resize an image without losing quality.
Resize your image here ↓
Can You Resize an Image Without Losing Quality?
Regardless of the reason, there will be times when you need to resize an image stored either on your phone or computer. That’s when you need to know how to resize an image quickly and easily.
Not all image formats are created equal. Some types, like GIFs, are older and support fewer colors. BMP is a Microsoft format, and those files can get very large. PNGs and JPEGs are optimal choices for the web because they support millions of colors and can be stored in relatively small files sizes without losing any quality. Additionally, PNG files support transparency, which is a must for website developers. TIFF is a high-quality format great for print and versatile enough to store multiple images in one file.
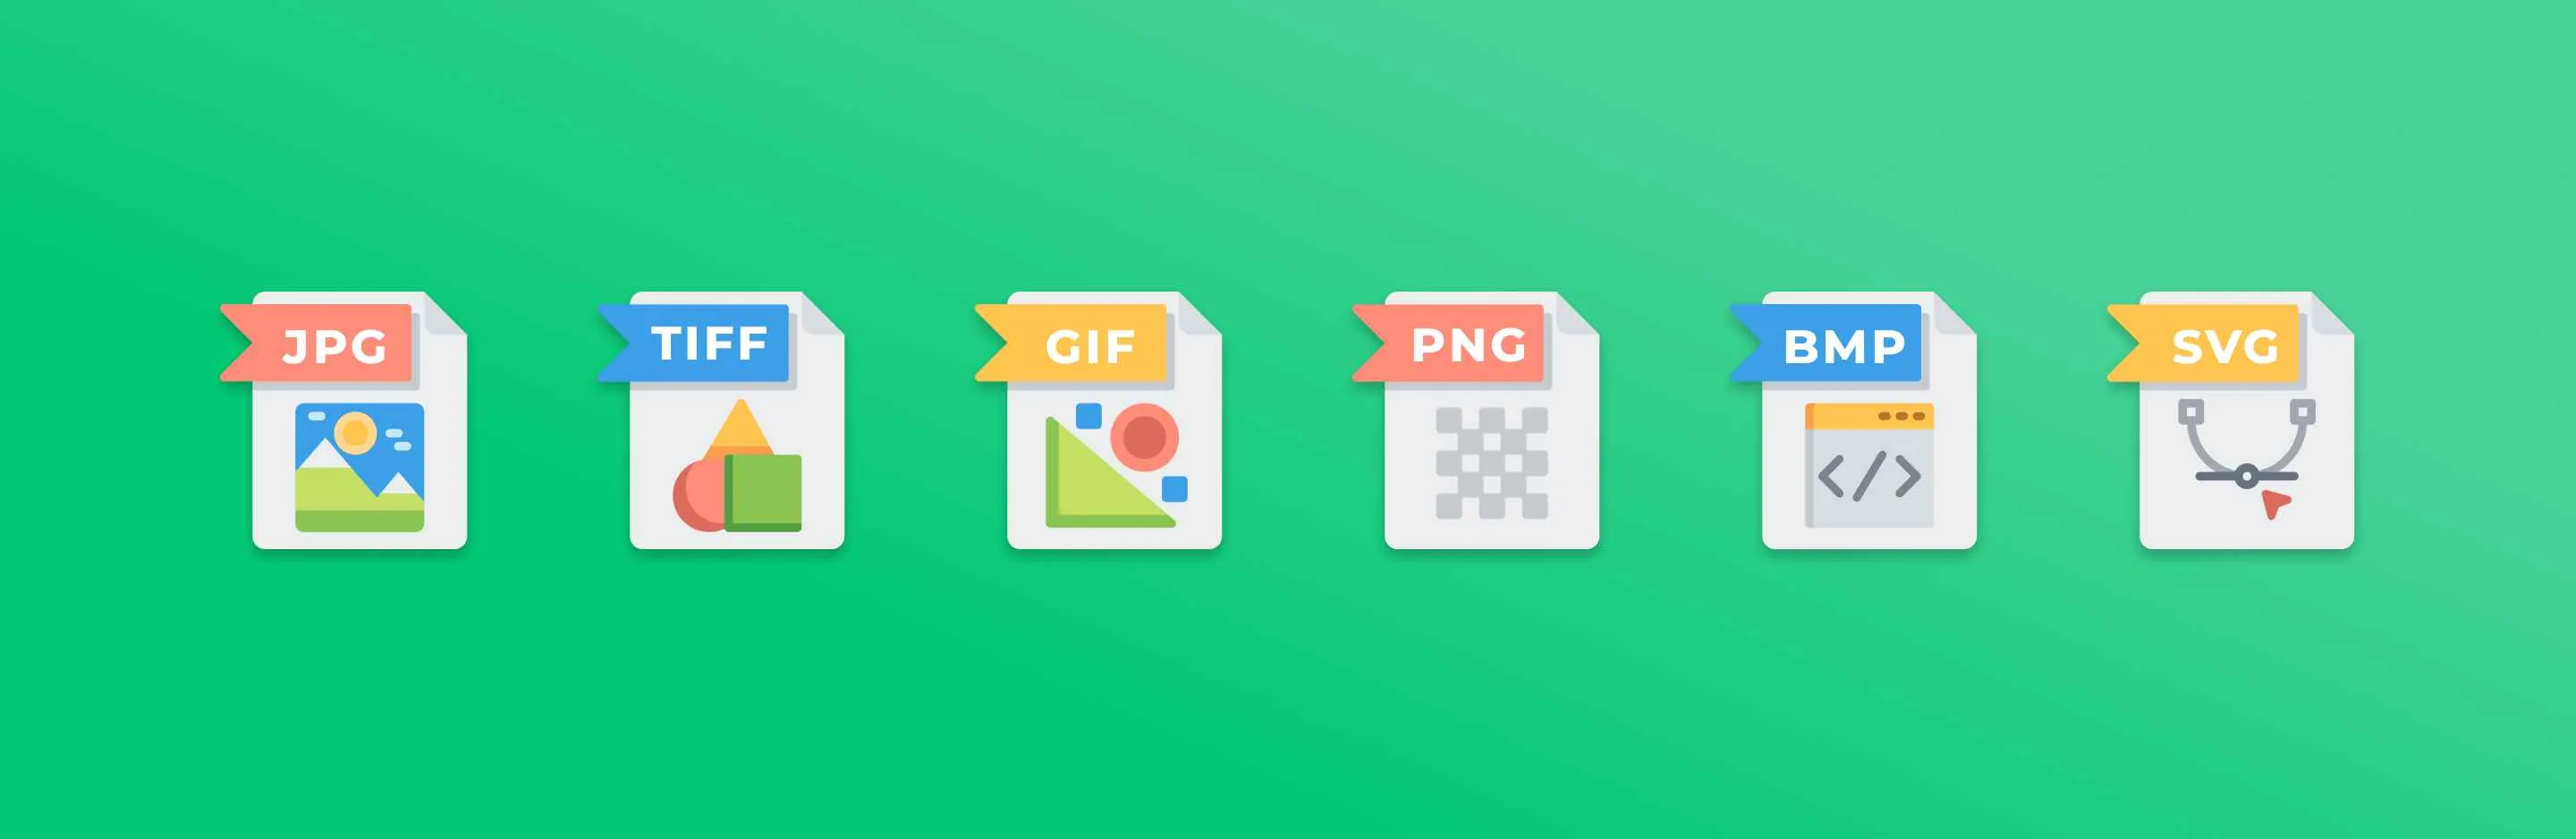
When resizing images, keep in mind that GIFs and JPEG formats are “lossy” and will lose some quality. Whereas PNGs, BMP, TIFF, and SVG files will not lose quality. A rule of thumb to keep in mind is that raster files (like GIF, JPEG, and even some PNGs) will lose some quality when resized or re-formatted but vector images like SVGS, AI, and XPS will not. They can be sized up or down without any loss of quality. Graphic designers create logos using vector images so they can be increased or decreased in size for different purposes.
Generally, if you take a large image and make it smaller, you will not lose any visible quality. However, if you try to take a small picture and stretch it larger, it will appear blurry and pixelated.
For websites, the human eye can only perceive a certain density of quality and so web graphics and images don’t need to be that high quality (only about 72 DPI). Print images and logos; however, do need to be at least 300 DPI (dots per inch).
How to Resize an Image Online
Thankfully, there is a great online image optimizer you can use to take all the work out of resizing your images. Follow the steps below to resize any image within seconds:
<li>
	<img src="/content/images/2019/08/search.webp" />
	<strong>1.</strong> Visit <a href="https://resizing.app/">https://resizing.app</a>
</li>

<li>
	<img src="/content/images/2019/08/image@2x.webp" />
	<strong>2.</strong> Have your image handy either on your desktop or in a folder.
</li>

<li>
	<img src="/content/images/2019/08/edit-pdf@2x-1.webp" />
	<strong>3.</strong> Now drag and drop your image onto the box in the middle of the web page.
</li>
<li>
	<img src="/content/images/2019/08/ui@2x.webp" />
	<strong>4.</strong> Once you place the image on the page, three boxes will appear to the right of it, to enhance and optimize your image.
</li>

<li>
	<img src="/content/images/2019/08/ui-choose@2x.webp" />
	<strong>5.</strong> Select width only, height only, or custom size.
</li>

<li>
	<img src="/content/images/2019/08/ui-px@2x.webp" />
	<strong>6.</strong> Enter the exact pixel size you want your new image to be.
</li>

<li>
	<img src="/content/images/2019/08/optimize@2x.webp" />
	<strong>7.</strong> Next, choose if you want to maximize your image <i>(meaning shrink the size, but you might lose some quality in doing so)</i>.
</li>

<li>
	<img src="/content/images/2019/08/convert@2x.webp" />
  <strong>8.</strong> Finally, select your image format <i>(jpg or png)</i>.
</li>

<li>
	<img src="/content/images/2019/08/save@2x.webp" />
	<strong>9.</strong> Hit the save button and your new “resized” image will download to your computer instantly.
</li>
</ol><!--kg-card-end: html--><p>It could not be any easier to resize images and retain quality. There are also a bunch of <a href="/5-free-image-resizer-apps/">free image resizer apps</a> you can use to scale down your pictures for a variety of different purposes.</p><h2 id="wrap-up">Wrap Up</h2><p>Most photo apps have some tools included with them to resize and edit images. This is especially true of mobile device cameras and software. Some of the built-in options will do a fine job, but sometimes it makes sense to look outside the box for an even better solution like the resizing app above.</p><!--kg-card-begin: markdown--><h3 id="relatedarticles">Related Articles:</h3>