How to Take a Screenshot on Your Mac
If you are looking for how to take a screenshot on Mac, just follow this step-by-step guide.
When you transition from a Windows PC to a Mac, one question that might have you stumped is how to take a screenshot on the Mac. The Mac keyboard doesn't have a Print Screen button but don't worry; there are still plenty of tricks to take a screenshot when you need one fast.
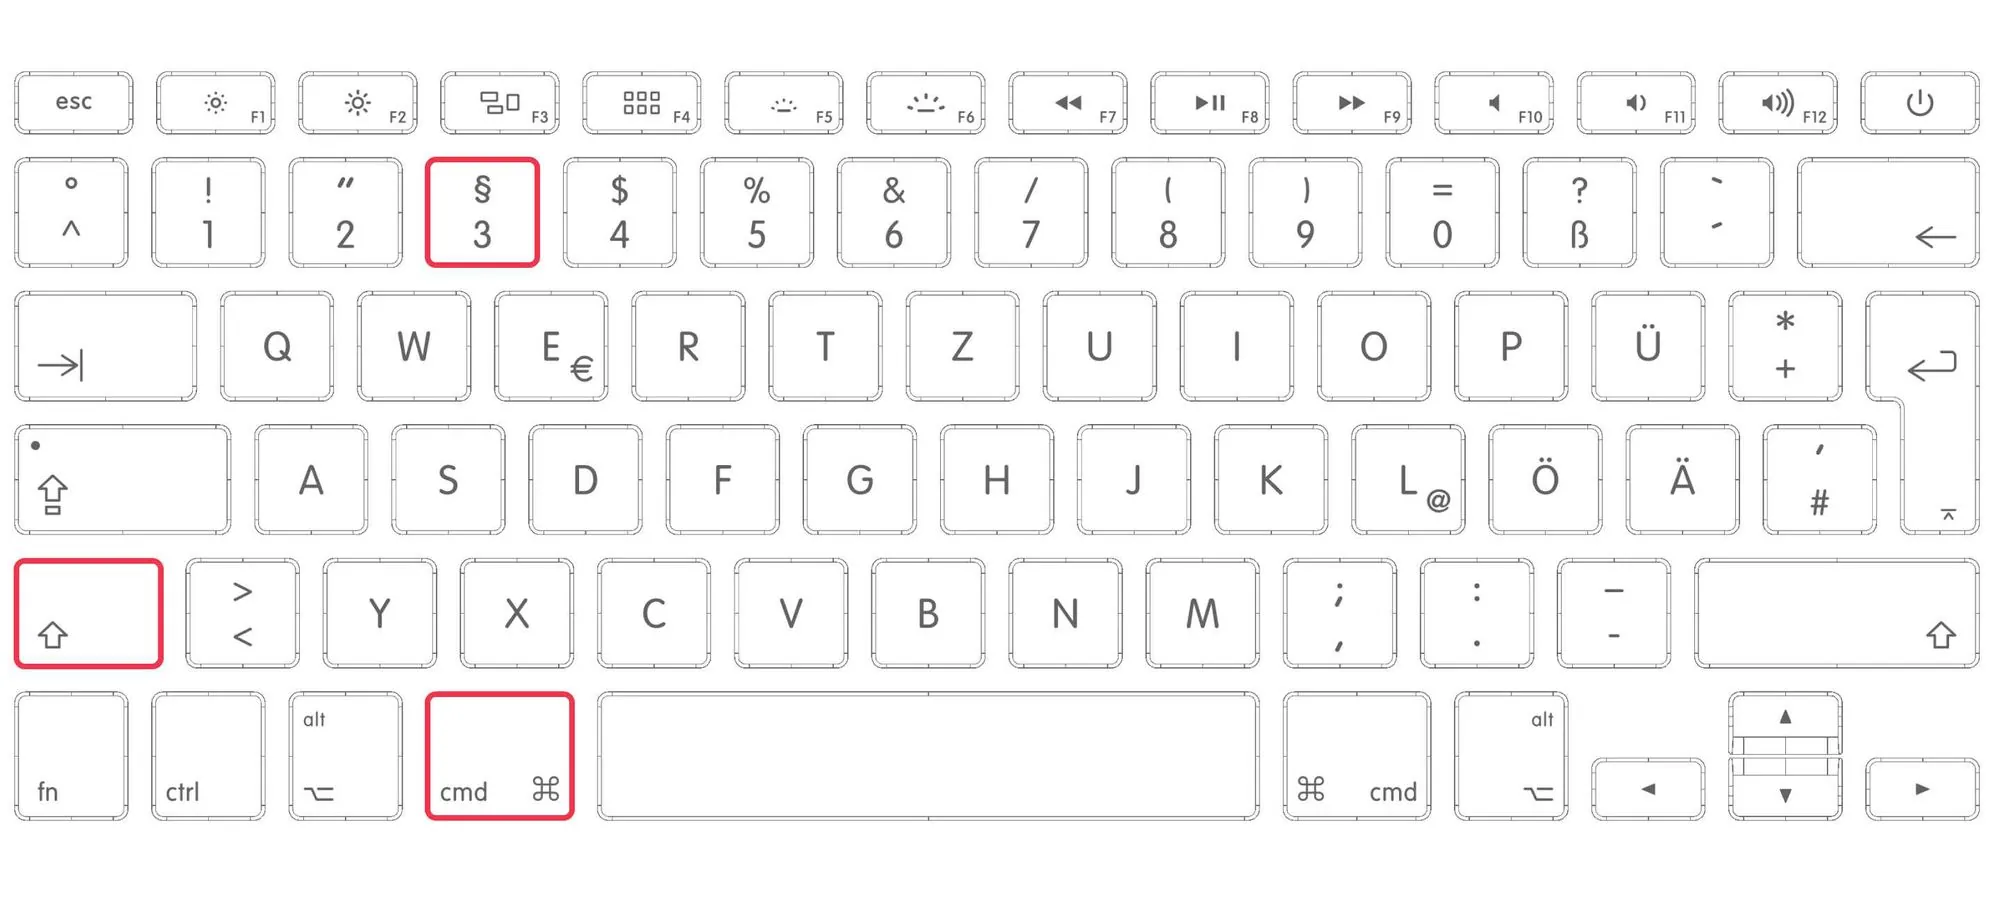
CMD + SHIFT + 3
Probably the fastest way to take a screenshot, especially when time is limited, and you are trying to capture something temporary, is to use the CMD + SHIFT + 3 method. Hold down all three keys simultaneously; you will hear a camera sound and a screenshot of your entire screen will instantly be created and copied directly to your desktop. In macOS, these keyboard shortcuts are the Mac snipping tool, similar to the one used in Windows.
After you hear the camera sound, you will see a thumbnail preview of your screenshot in the lower, right-hand corner of the screen. If you click this tiny image, it brings up the entire snipping tool for Mac, and you can edit, annotate, rotate and make other changes to the image before it saves to your desktop.
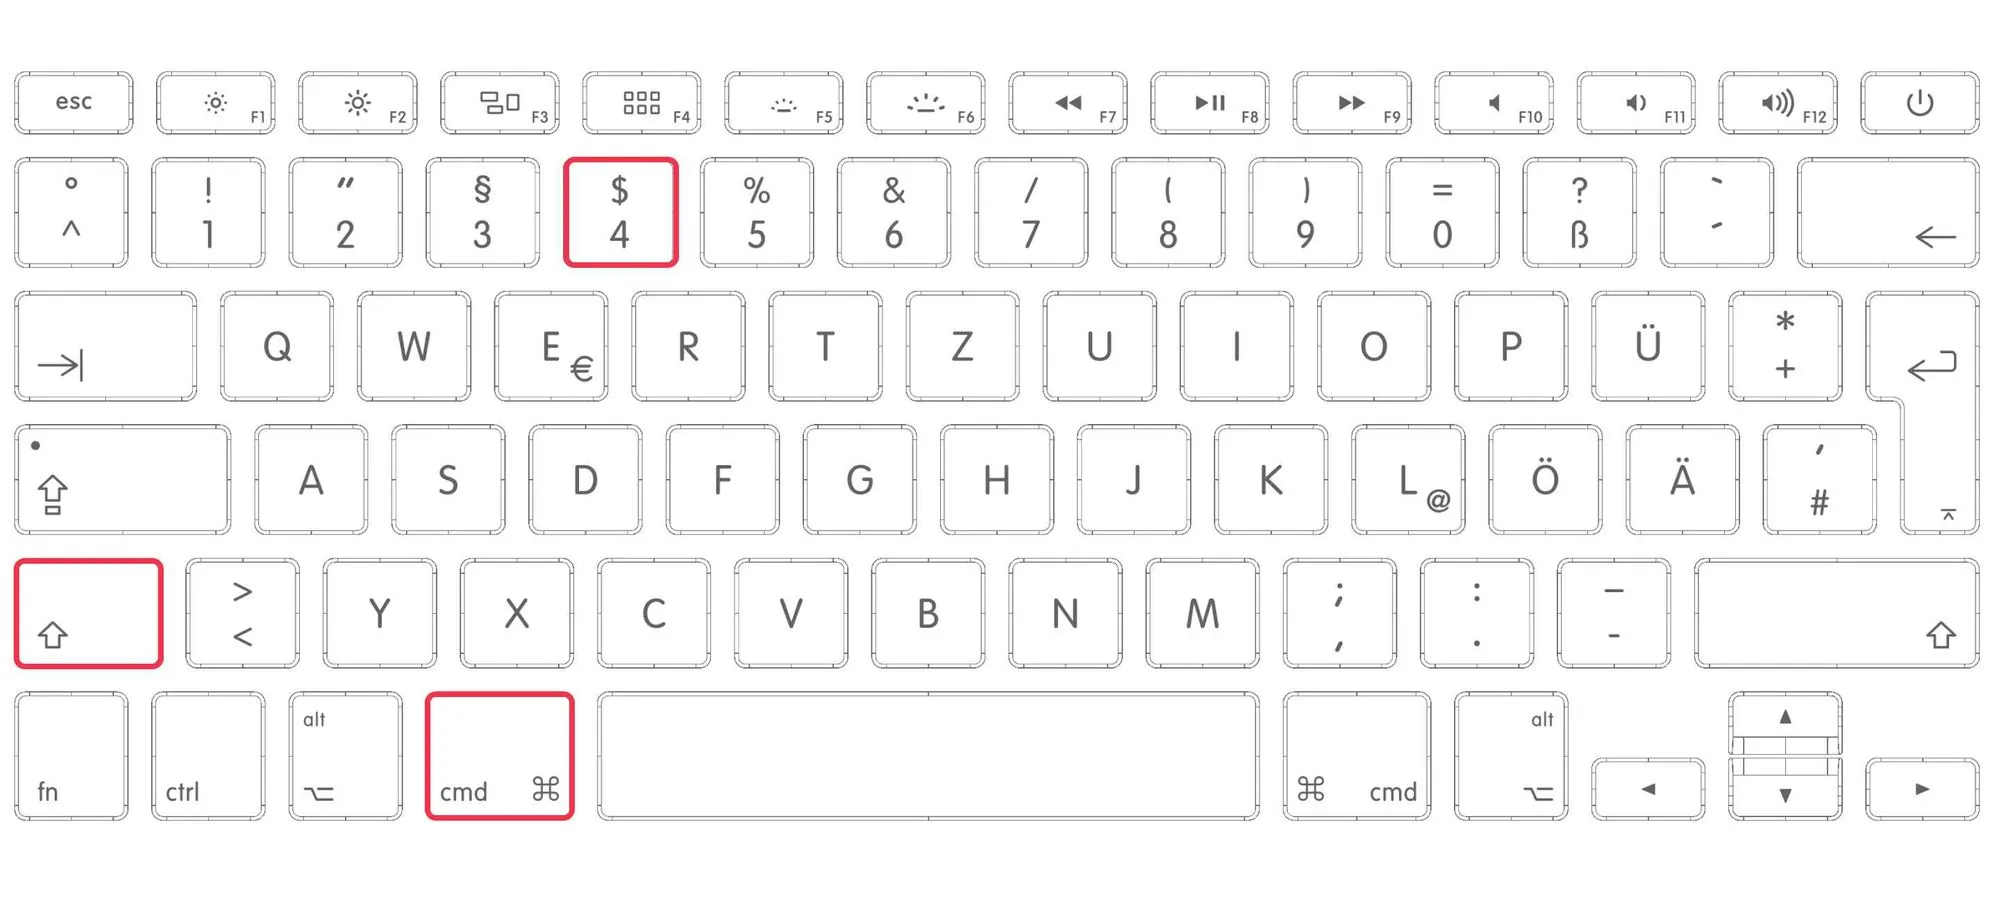
CMD + SHIFT + 4
Another convenient way to take a screenshot on the Mac with even more precision is to use CMD + SHIFT + 4. This method allows you to select an area around the portion of the screen that you need to capture. You can get very specific about exactly what you want to be copied to the desktop. To use this method, follow the steps below:
- Hold down the CMD + SHIFT + 4 keys simultaneously. You will see a tiny bullseye on the screen.
- Now use your mouse or trackpad to click the top-left corner of the area you want to select.
- Hold and drag until you draw a rectangle around the entire area you want to be selected.
- Let go of the mouse, you will hear the camera sound, and the screenshot will copy to your desktop.
Again, you will see a tiny preview of the screenshot in the lower, right-hand corner of your screen. You have a couple of seconds to click that image to open up the snipping tool and make edits. If you make a mistake, close the box, and the original will be copied to your desktop.
You might have to try this method a few times until you get good at it, but it's worth it for the precision it offers.
If you have a MacBook Pro with Touch Bar, you can use the Touch Bar to choose Selected Portion, Window, or Entire Screen and designate where to save the copy.
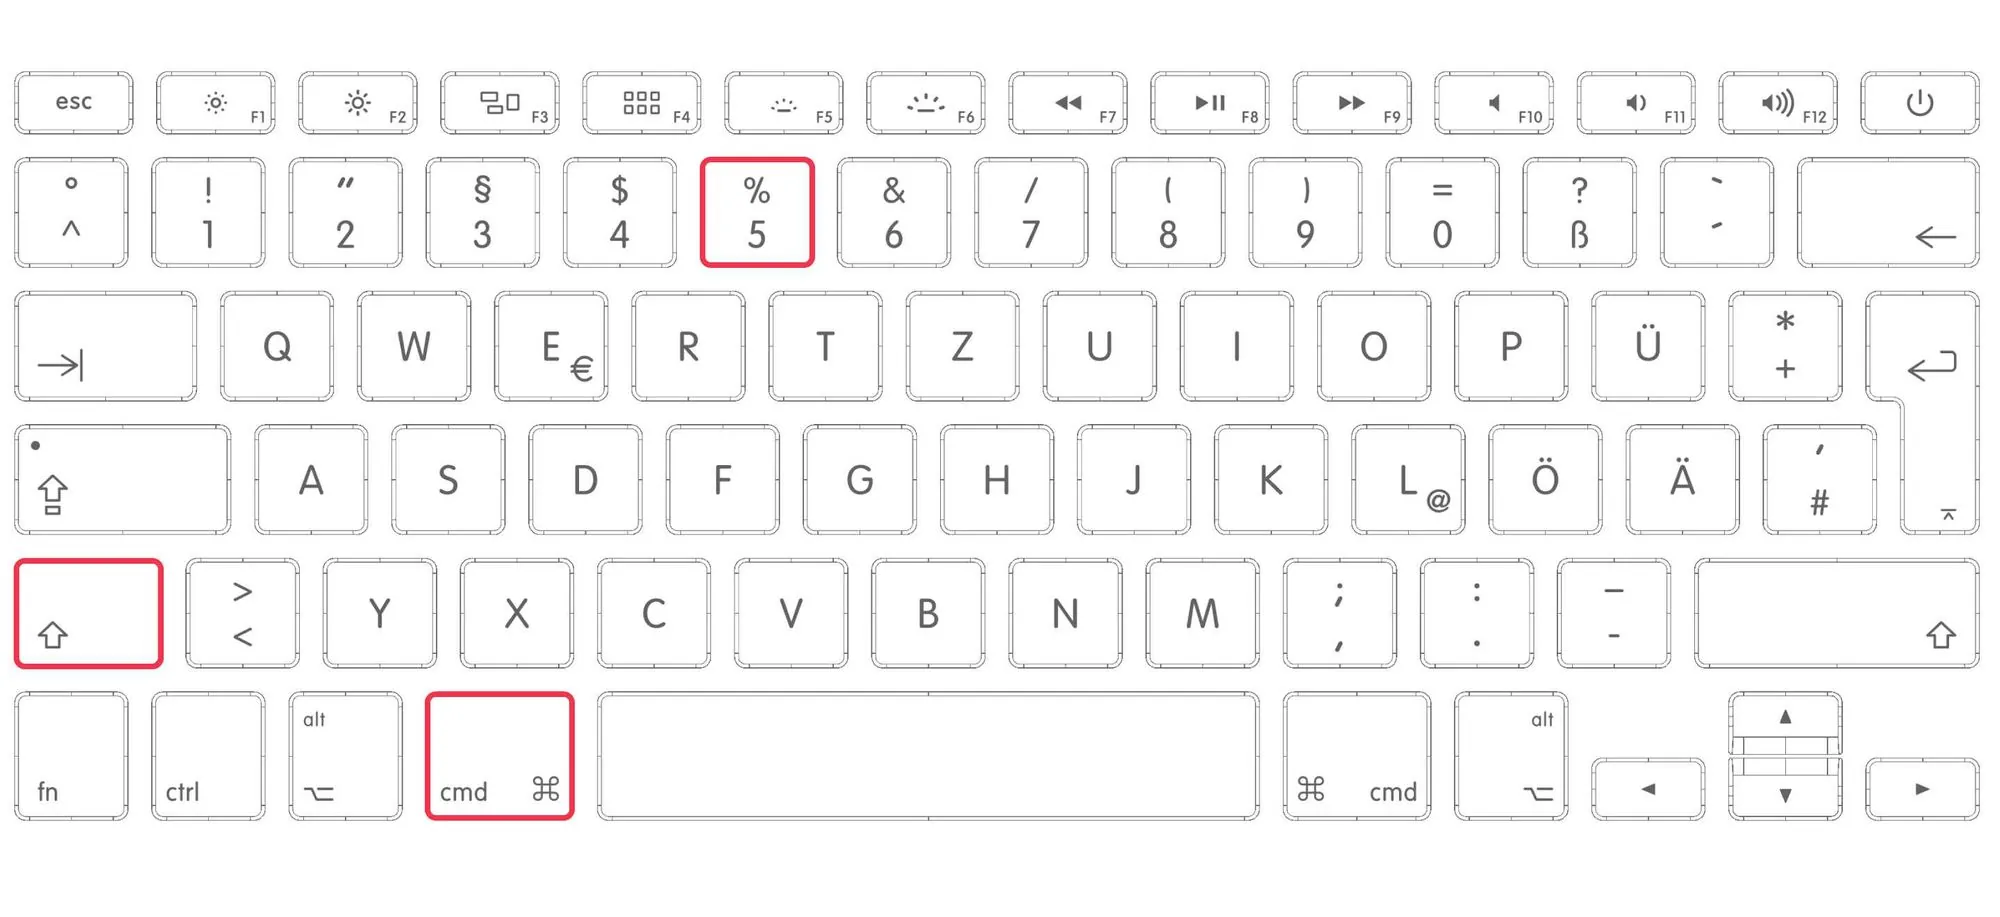
CMD + SHIFT + 5
New to macOS Mojave, is the CMD + SHIFT + 5 feature. When you use this option, it pops open an overlay window so you can choose full-screen, a window, or a selection screenshot.
This cool new feature also allows you to record a video of your whole screen or just a portion of it. Two additional options are that you can select where to save the file, and you can also set a handy delay of 5 or 10 seconds to line things up quickly before the screenshot takes a picture.
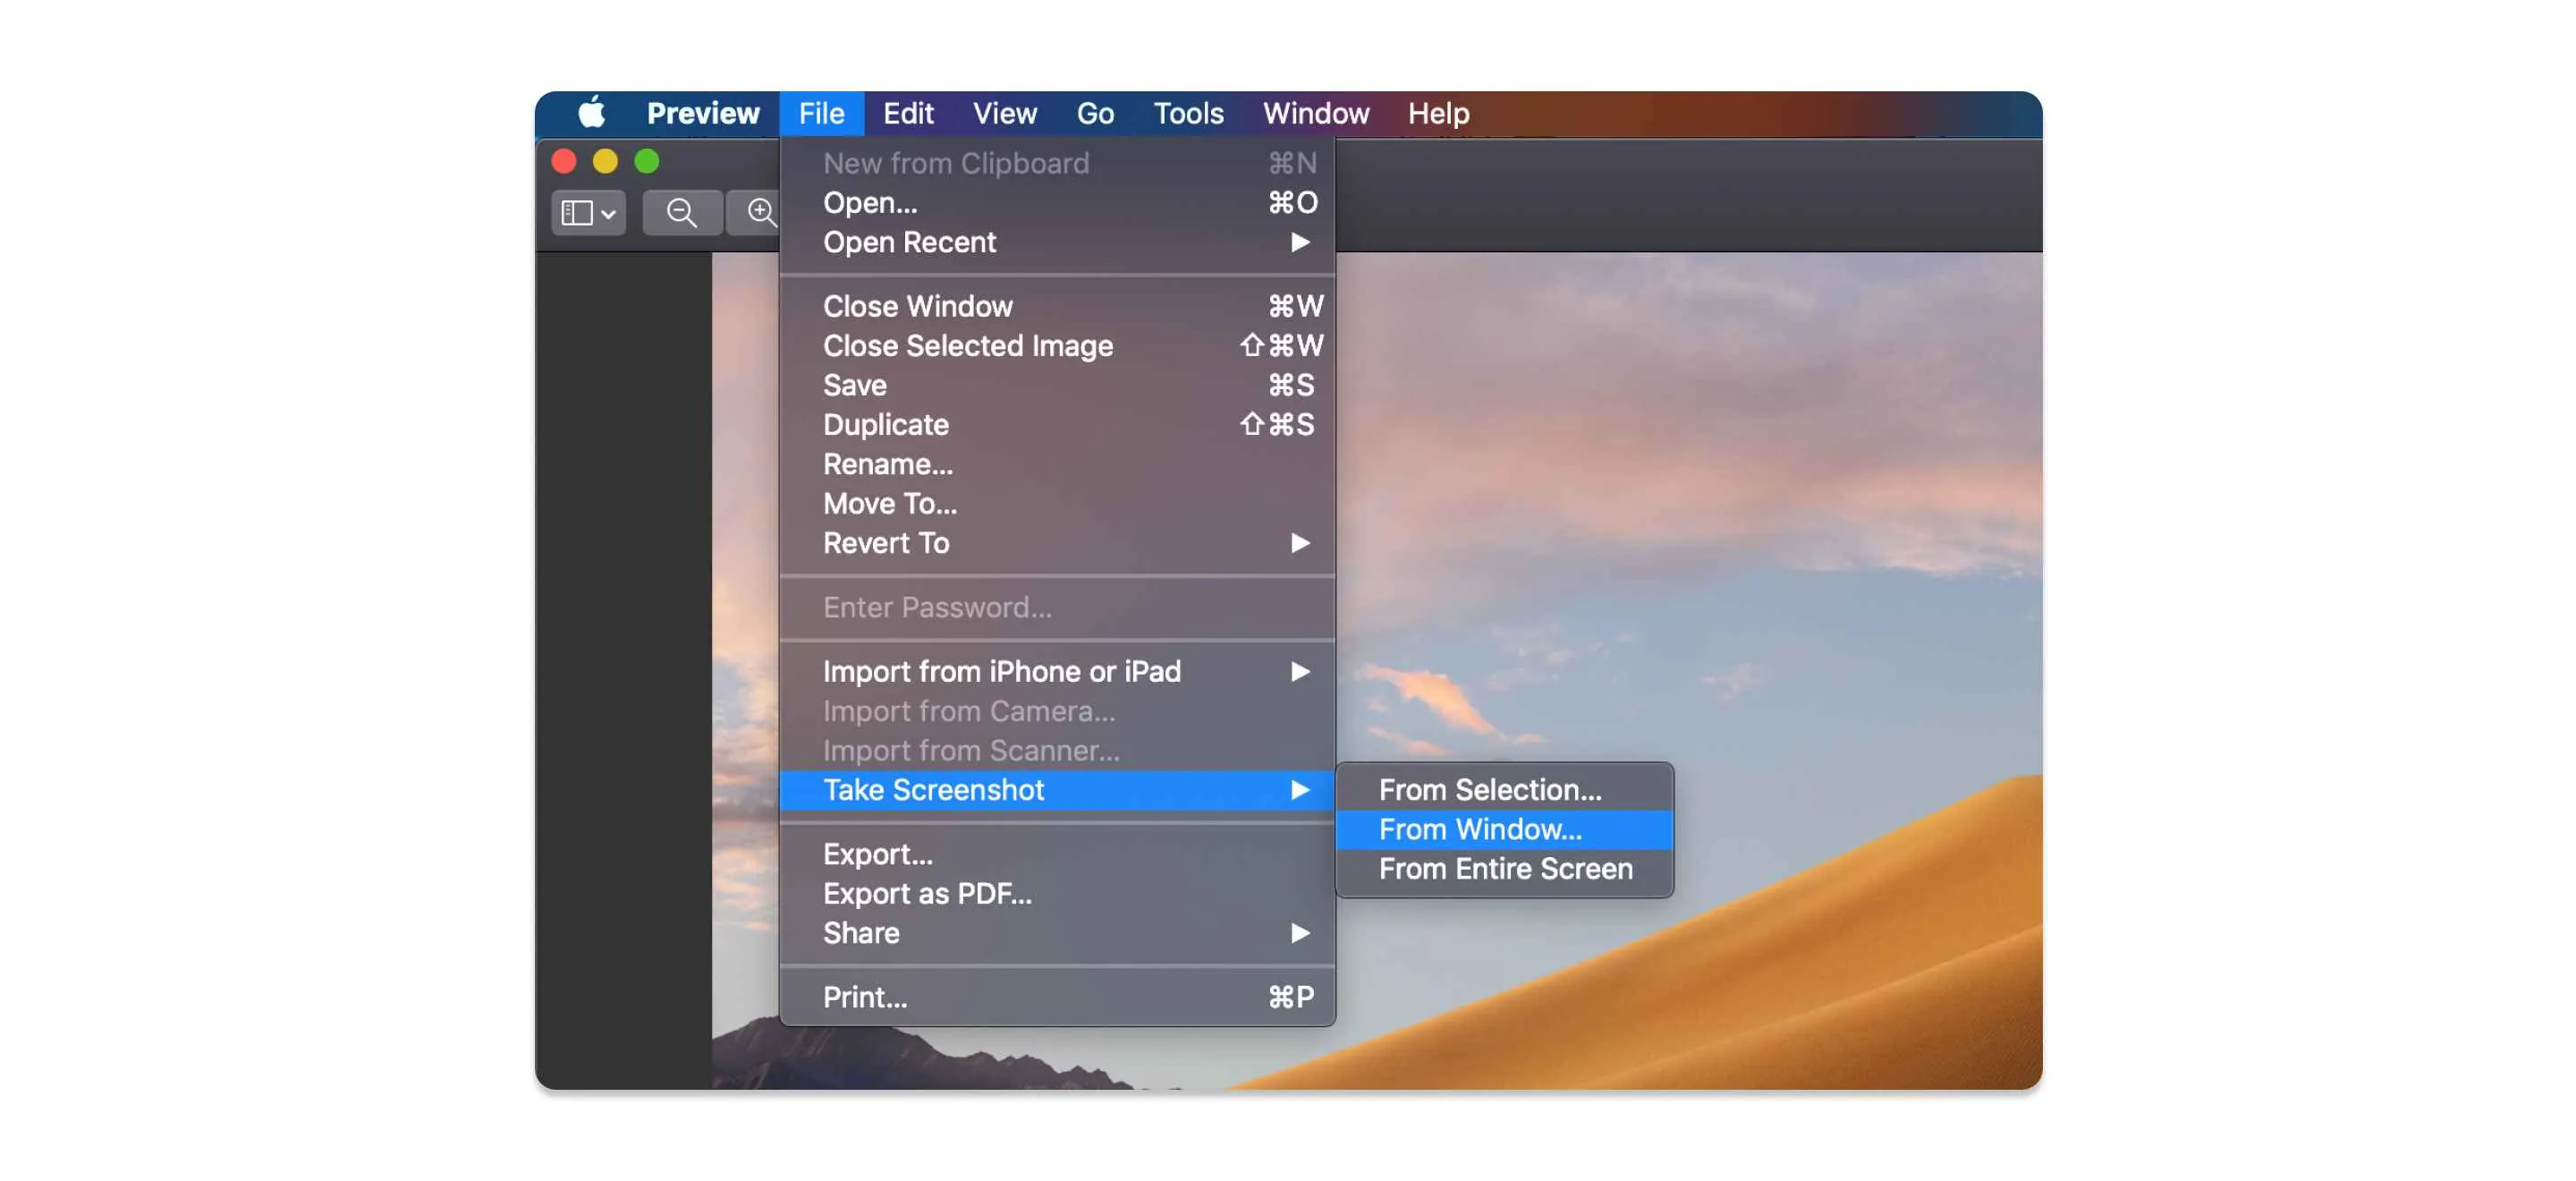
One More Hidden Trick - Preview Screenshot
So now you know how to use the snipping tool on the Mac. But there is also one more hidden trick we want to share. Buried in the Preview menu, there is a screenshot option. With a PDF or image file open in Preview, simply select File, Take a Screenshot, and then choose "From Selection," "From Window," or "From Entire Screen."
These menu items replace the keyboard shortcuts, but after that, you will have the same options and follow the same instructions above.
Learn more about snipping tools or screen capture software and check out the list of the best snipping tools for Mac to take screenshots of images, video clips, or your favorite websites as easy as pie.
That’s it! Now you are an expert at taking screenshots on a Mac.
Related Articles:
- 5 Best Snipping Tools for Mac
- Check Out The 10 Best Snipping Tools in 2020
- 4 Easy Methods of How to Take a Screenshot on Windows 10