If you have a website or an online store, you know it can be tricky to get your images to look just right. These tips on how to optimize images for the web will take all the guesswork out of it for you.
Why You Should Optimize Web Images
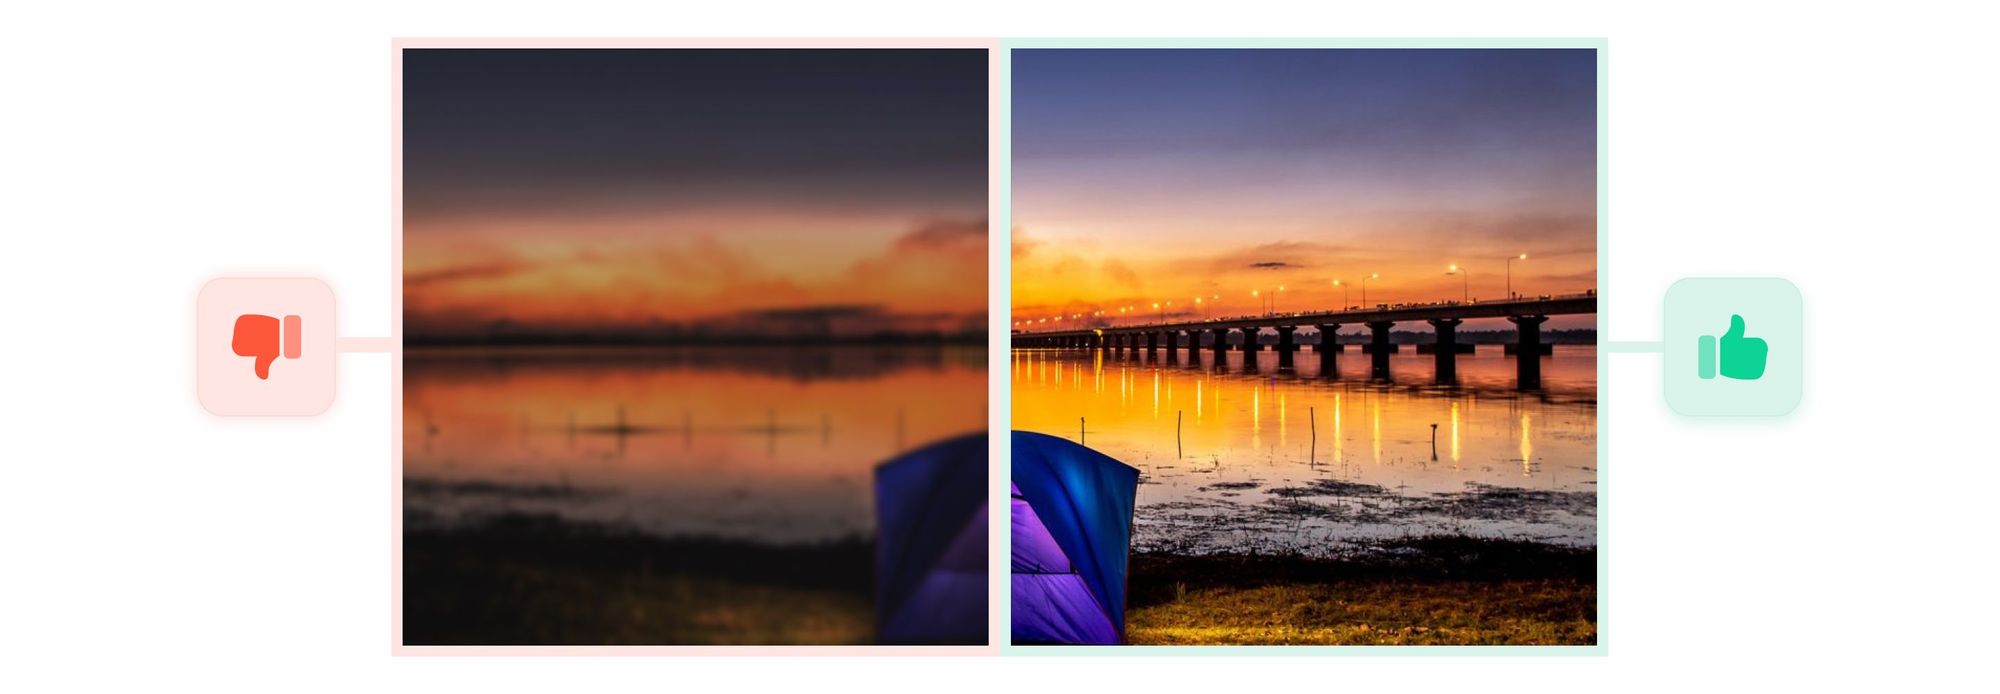
When preparing an image for a website, you need to understand that the balance between quality and size is critical. If the image is too small, it may look blurry and unprofessional. If the image is too large, it will slow down your site, and you could lose visitors. Additionally, if you haven’t prepared the image for SEO, you could be leaving money on the table there, as well.
Tip 1 - Choose the Right Image for a Website
If your intention is to provide your visitors with professional experience, choose only high-quality, well-framed photos. Homegrown images are nice, but they don’t often present the best image for a business online.

Start with large (at least 1500px wide), professionally taken photographs, and then size them down for the web. Balance content with images and use only images that relate well to the subject matter of the website.
Tip 2 - Choose the Right Format
The top three image formats to choose from are JPEG, PNG, and GIF. Each has pros and cons to using them. For online store images, the best option is JPEGs because they can be resized without losing any quality. In cases where you need a transparent background, then PNG is the right choice.

PNG files also support a lot more colors than GIF, but the file size can get bloated. GIF files are best used for simple drawings and images with fewer colors. They are fine to use for thumbnails but not for large images or backgrounds.
Tip 3 - Resize Your Image
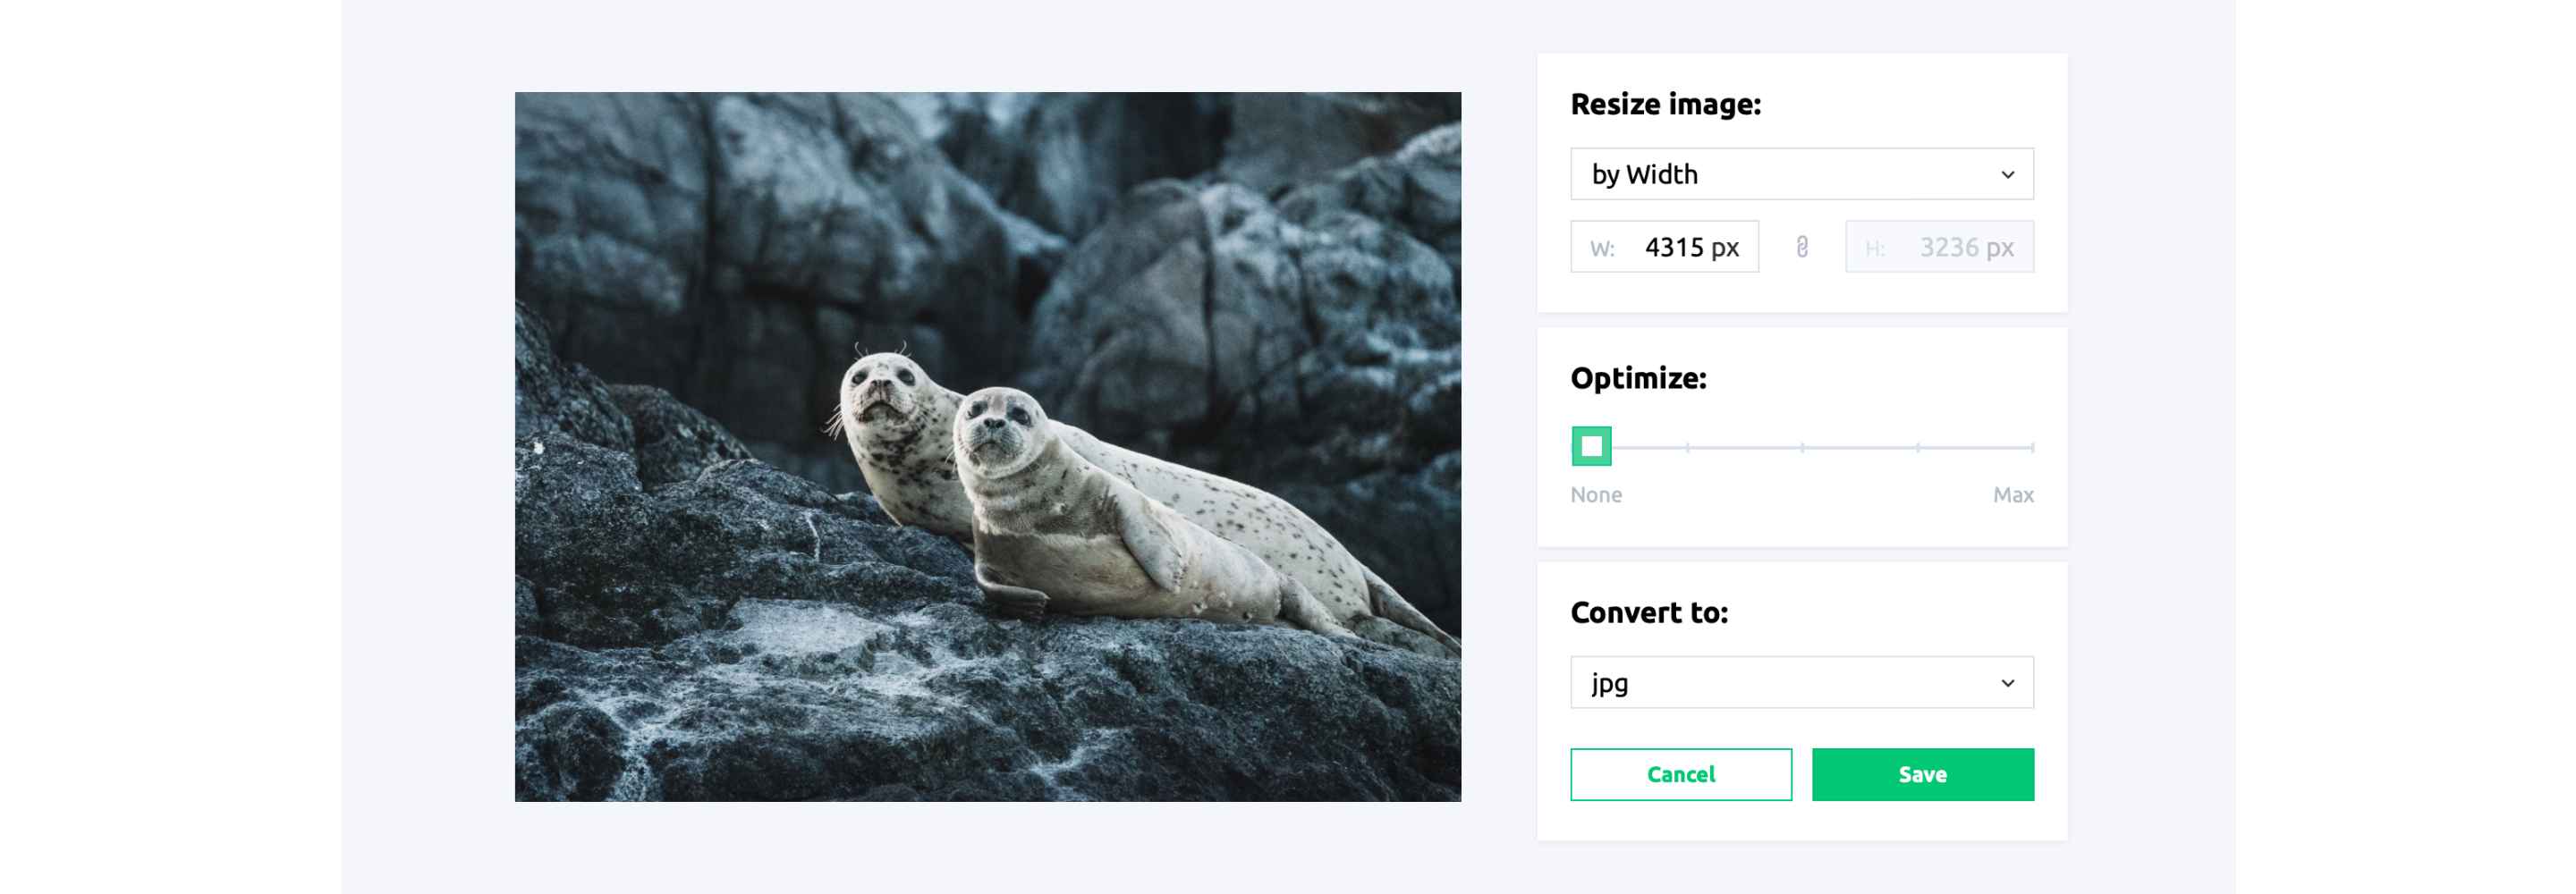
The trick to optimizing your images for your website is to get them as small as possible without the quality degrading any. There are dozens of software programs that can help you with editing photos for a website. Some of them have output settings such as “save for web,” which automatically optimize the size and quality.

The biggest thing that will slow down your website are images that are too large and take too long to load. For example, a 15MB image on a website is huge. A more reasonable option would be to compress it down to around 125KB. You don’t necessarily have to sacrifice image resolution to have large images appear on your website. It’s a balancing act that you can play around with using some free photo editor apps until you find just the right combination.
Tip 4 – How to Name Your Image Properly
How you name your images may seem unimportant, but to search engines, it is essential. Instead of naming your files with nonsensical or numerical values, be descriptive so that SEO bots can find your website and your images easily.

For example, an image of a piece of real estate for sale could be named: 11-sycamore-avenue-newport-rhode-island.jpg. Always use hyphens or underscores between words. Most popular web development programs require it anyway. Don’t forget to add ALT-tags to your images with plain-language descriptions as well.
Tip 5 - Tools to Help Optimize Your Images for the Web
If you need professional images and don’t have a lot to spend, check out Pexels, Pixabay, Canva, and Unsplash for free stock images to use on your website.

There are also some great free image resizer apps you can try out online to help with sizing your photographs to get everything just perfect.

